This is a post for those who need some help with tracking.
This is going to refer to Affiliate Toolbox that is the site I use for tracking.
So lets get started with why you should use tracking
Tracking can show you a lot of different things.
- Show you how many people are viewing your site
- Show you how many people are clicking on your links
- Show you where those views and clicks are coming from.
- Show you how many people are revisiting your sites from your links.
So now what does all of this mean to you.
Well if you can figure out how many people are visiting your sites it will show you how well your advertising is doing.
But the problem with people just viewing your site is not just enough. Lets use an example.
Lets say you have two different places or sources that are showing the same splash page or ad.
So they are both getting lets say 2000 hits or views per day. Now this is just for example.
So the first source is getting 2000 views, without tracking you would think this site is doing pretty good.
But lets say source 1 is only getting 10 people to click on that link that they are seeing.
So you have a 0.5% rate so that's not too bad. But then you are only get 1 referral out of those 10 people.
now you are down to a 0.1% rate for sign ups. So if it took you a hour to set up that ad to get 2000 views and for that one sign up lets say you are promoting something that will pay you say $10. That's not too bad right that still 10 per hour of work.
Now lets look at Source 2 say you got the same amount of views 2000 and it took you half a hour to set up to get those 2000 views. Lets say you got 20 clicks to that ad. So that would put you at a 1% rate which is better then source 1 right. Well that is where tracking comes in. Say for those 20 clicks that you got. You get 3 sign ups to the same ad. So that would be $30 you made right in half of the time.
So if you have your tracking set up you will get all of this information. Now just thinking that this is a perfect world and source 1 and source 2 are going to keep getting the same results all of the time. So then you see this so the next day instead of spending that one hour at source 1 you use that extra hour at source 2.
So now you have spent 1 in a half hours at source 2 and in half an hour you got 2000 views. So now you would have got 6000 views, and at the same rate as the day before you will get 60 clicks from the same amount of work. So you had a 15% rate the day before for sign ups to clicks. So then today you should get 9 sign up from the same amount of work. Right so lets compare all of it now.
Day 1 you spent One in a half hours for 4 sign ups which made you $40 for that day that's about $27 per hour. Not too bad right.
Day 2 you spent One in a half hours for 9 sign up which made you $90 for that day that's about $60 per hour. Now doesn't that seem a lot better.
Now if you are having problems setting this up at Affiliate Toolbox you can contact me at the social networks to the side of this post.
But I will go over a few of the basic's.
There will normally be a tab or something that is labeled something like Links, Sites, something like that.
So what you are going to want to do is go to the site that you want to track. Bring it over to your tracking site and you should see a box for The name which will be what ever you want to put in there so you know what site its for. I normally just use the sites name itself. Then will be another box below that or above on some tracking sites. That is where you are going to paste the whole url into that box including the http://.
Then you will take the new link that they provide you with and this will be the link you will put on your advertising sites. If you are using Affiliate Toolbox you can even add at the end of the new link &src=whatever you want the source to be. For example Blog, email, list, main site, anything like that then it will show that as the source so you can see where they are clicking on the link from.
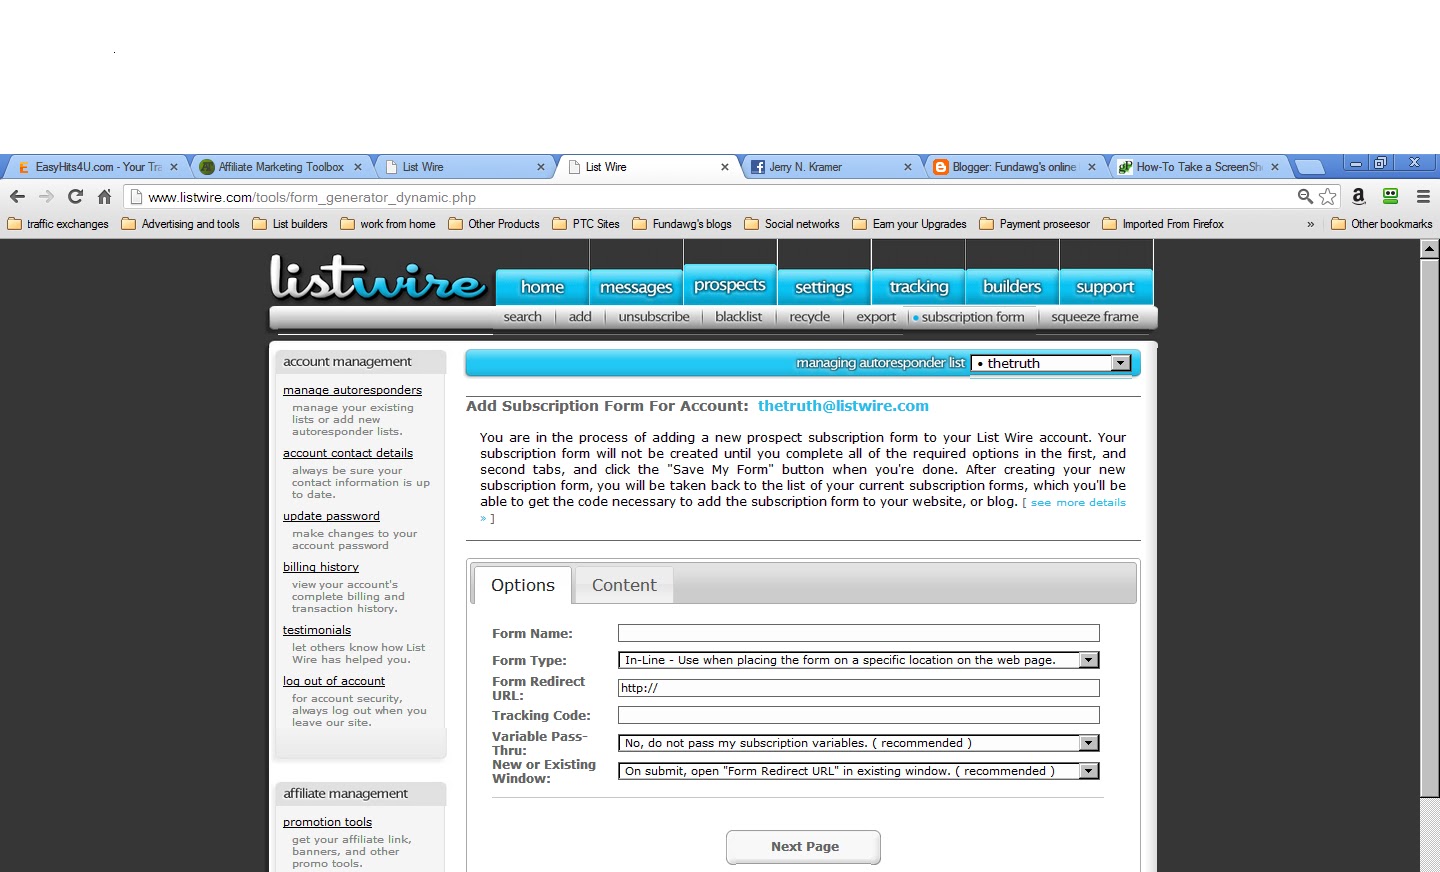
If you are using an autoresponder and you are using Affiliate Toolbox you can send them to your Thank you page. After they submit their information. So you can show them other offers while they are waiting for your email from your autoresponder. If you would like to know how to do this I have a blog post about that too but it is with List Wire. But I'm sure it is about the same at the bigger autoresponders.
Well I hope this will help you. If you liked this post please share it with your friends you can use the links off to the right to share this very easily. If there is something that is still unclear please leave me a comment below and I will try to add any information that I can.
If you see any other problems with any of my other post as well please leave me a comment I would like to fix them so I'm only showing the most complete information that I can.